simon__75
Pasjonat
-
Dołączył
-
Ostatnia wizyta
Treść opublikowana przez simon__75
-
Też bym jakieś niewywalające błędu zakupił w rejestrację
-
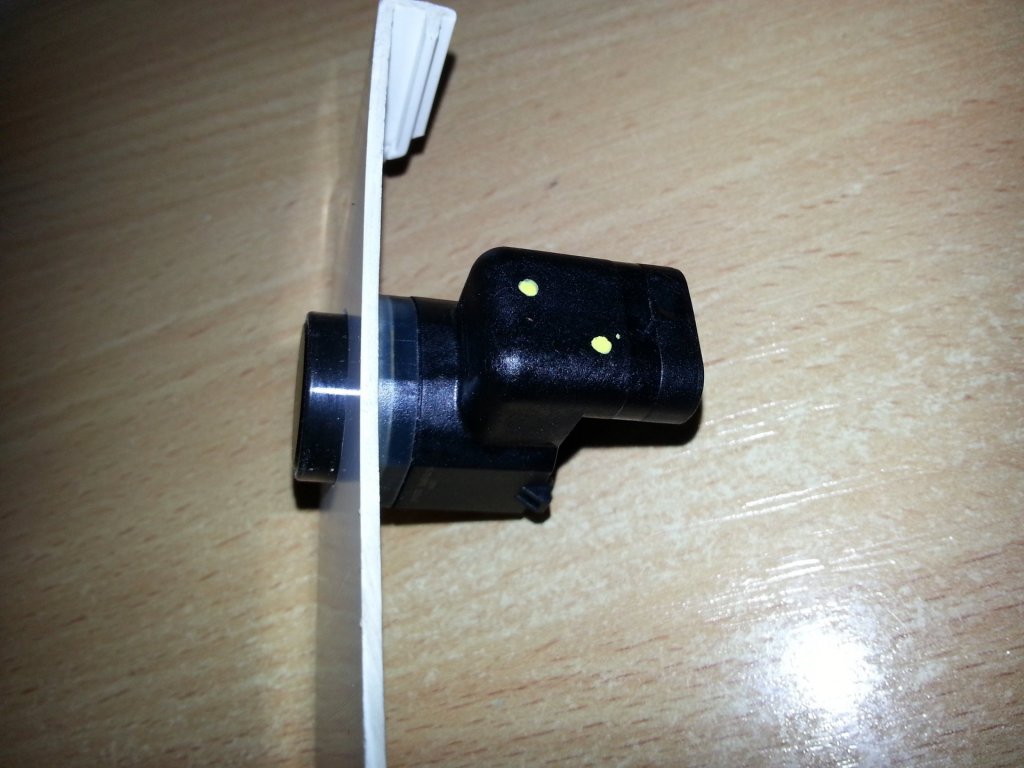
Sugerujesz ze nie bedzie pasowało ?? Zderzak zwykły - bez uchwytów na PDC. Sam jestem ciekaw jak to wyjdzie.....na jednym z opisów stosowano wlasnie takie uchwyty....zobaczymy. ---------- Post dopisany at 19:06 ---------- Poprzedni post napisany at 19:04 ---------- Tu użyto podobnych uchwytów i tak to to wyszło:
-
Dziękuję WRC :hi:
-
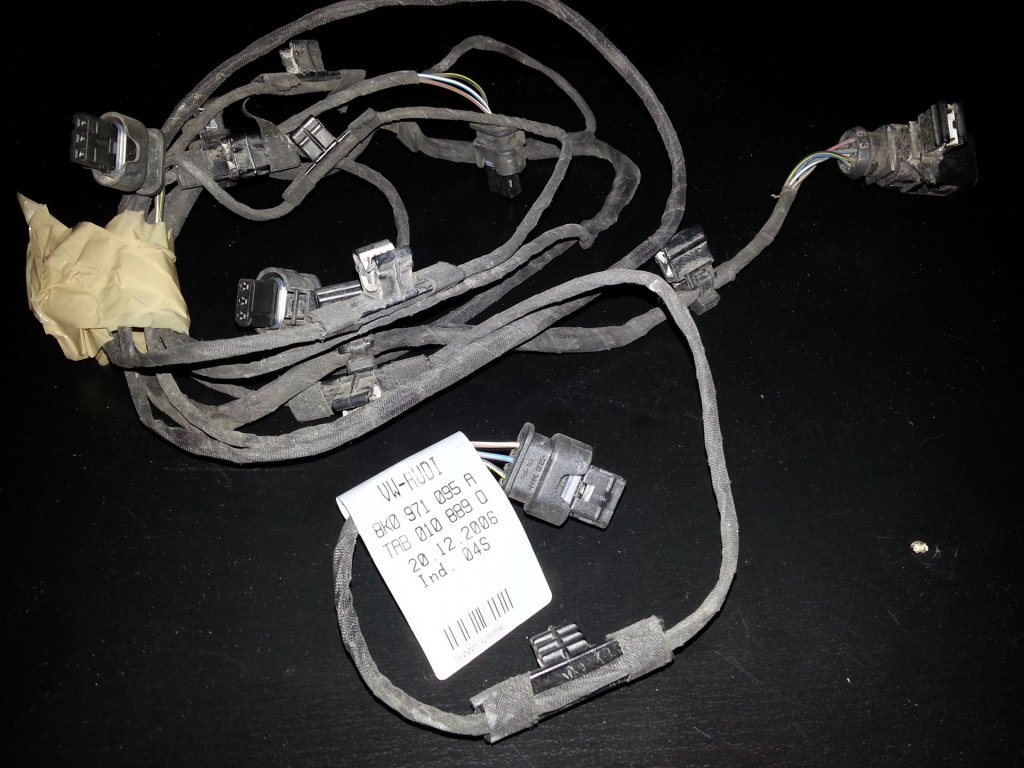
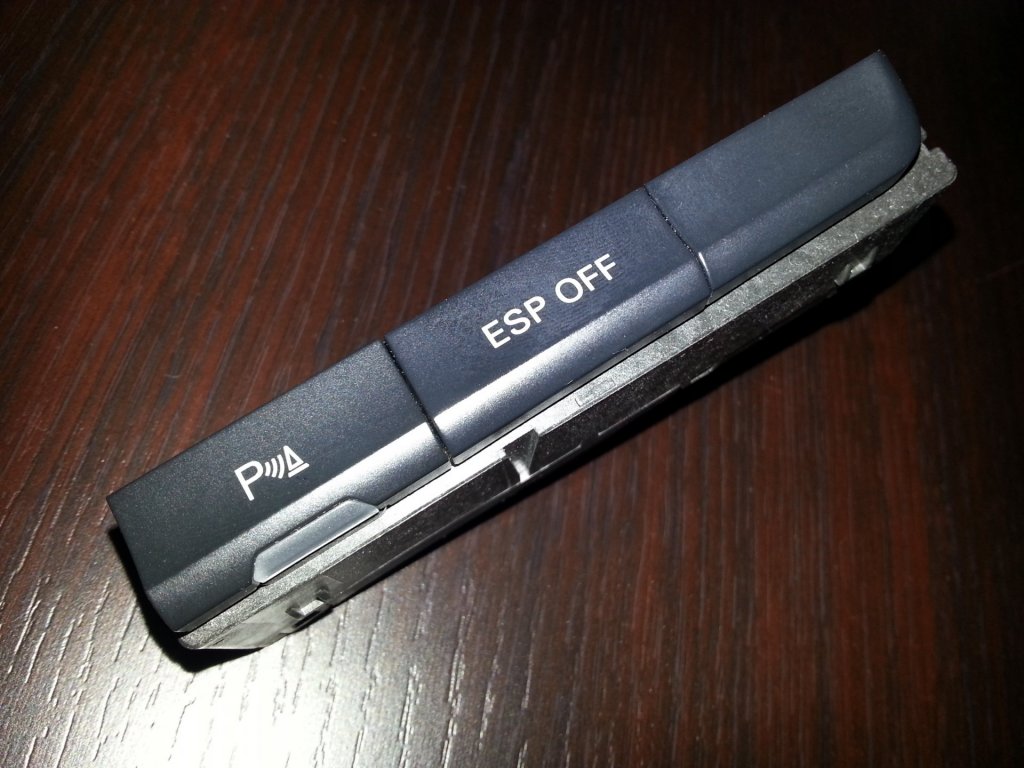
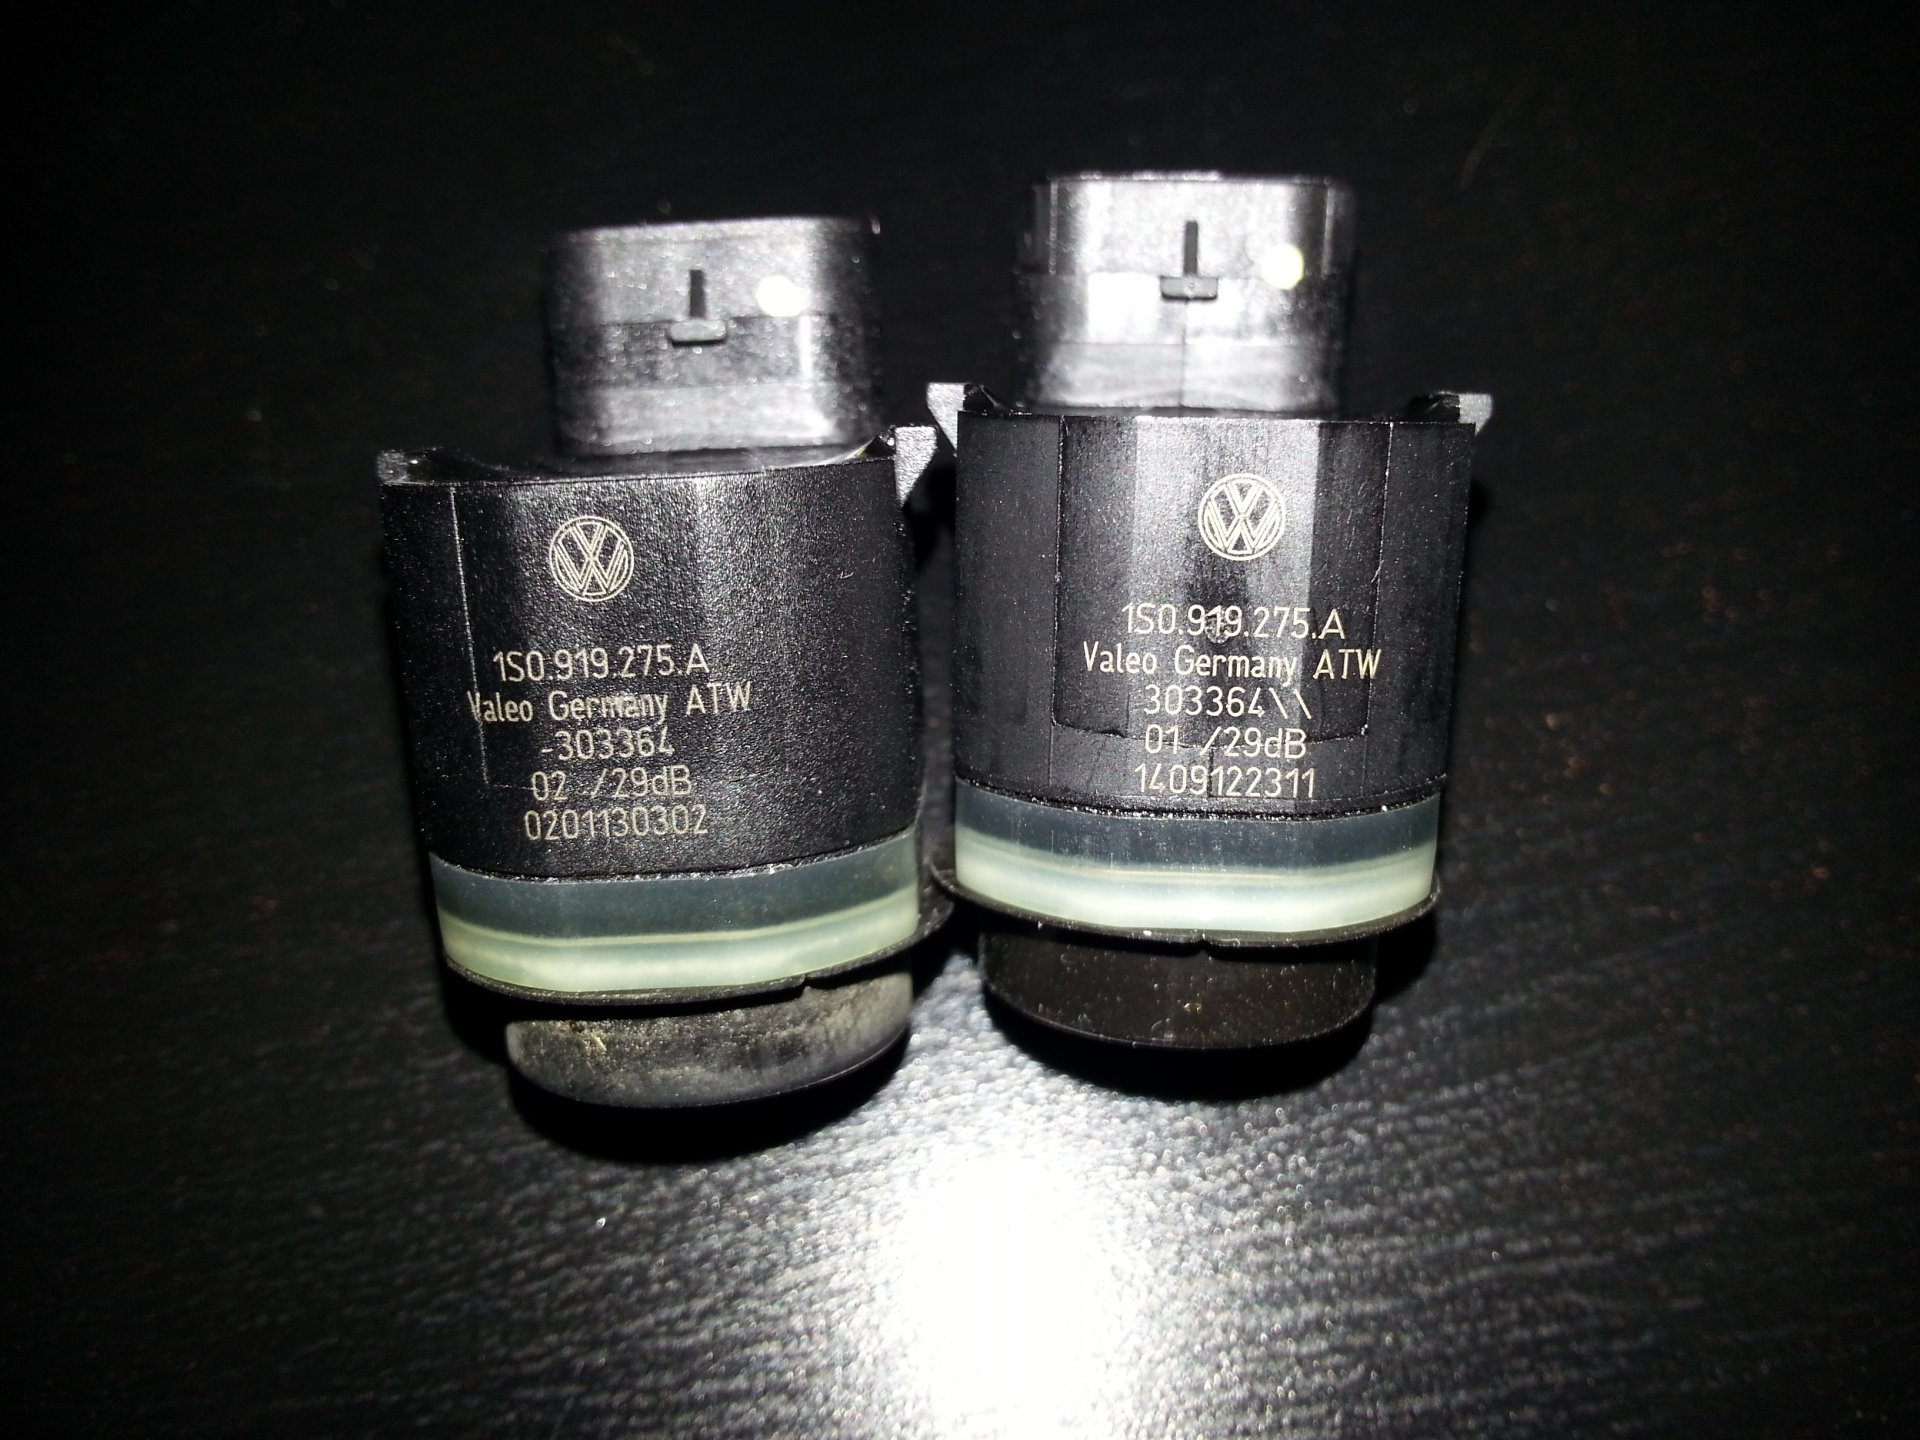
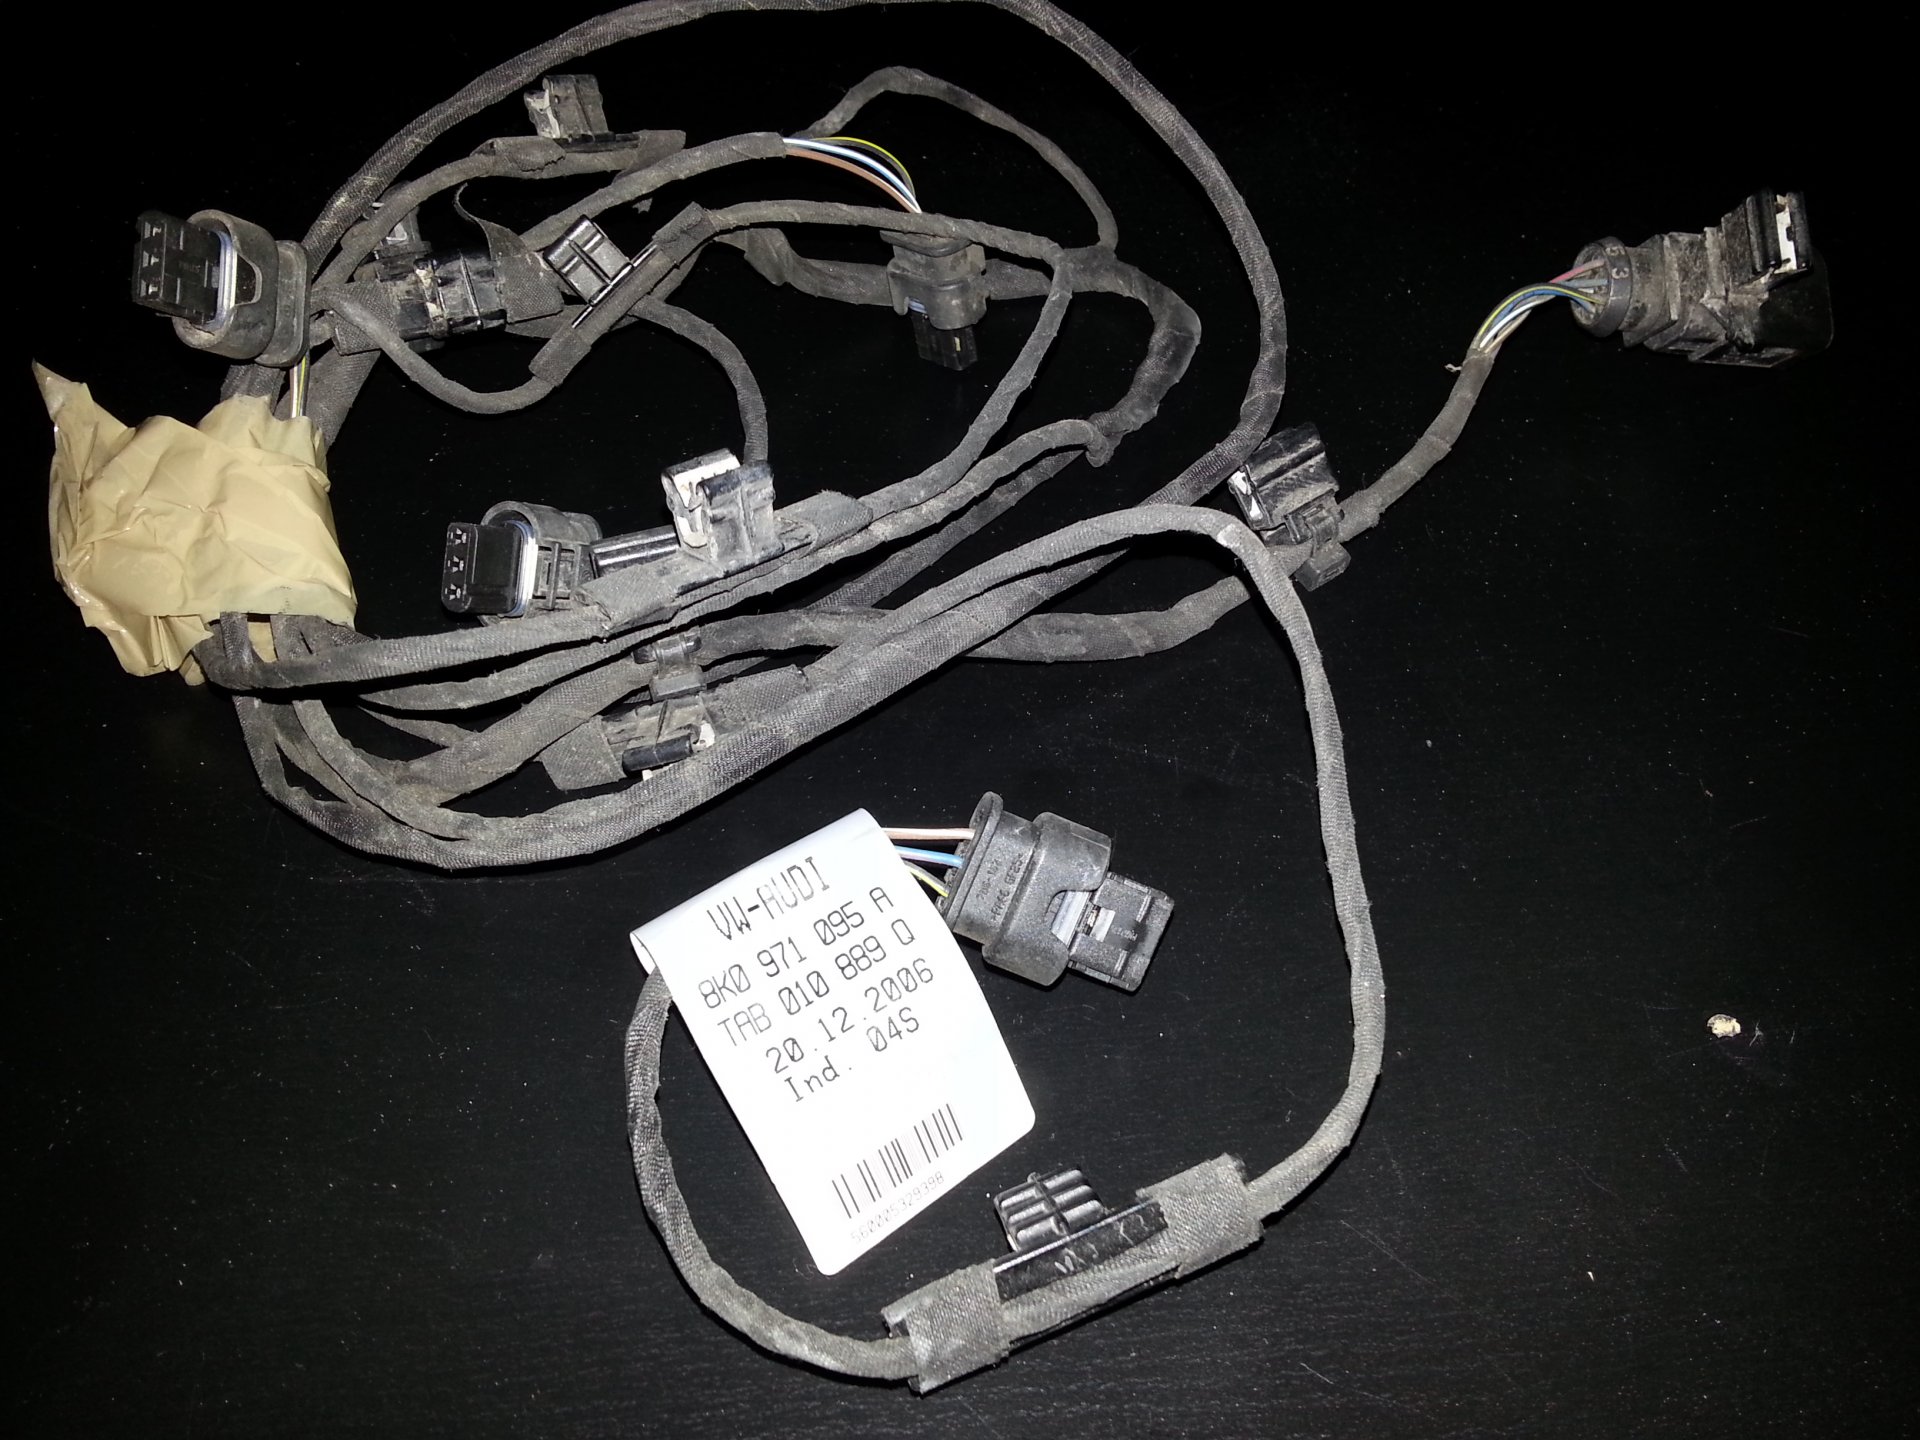
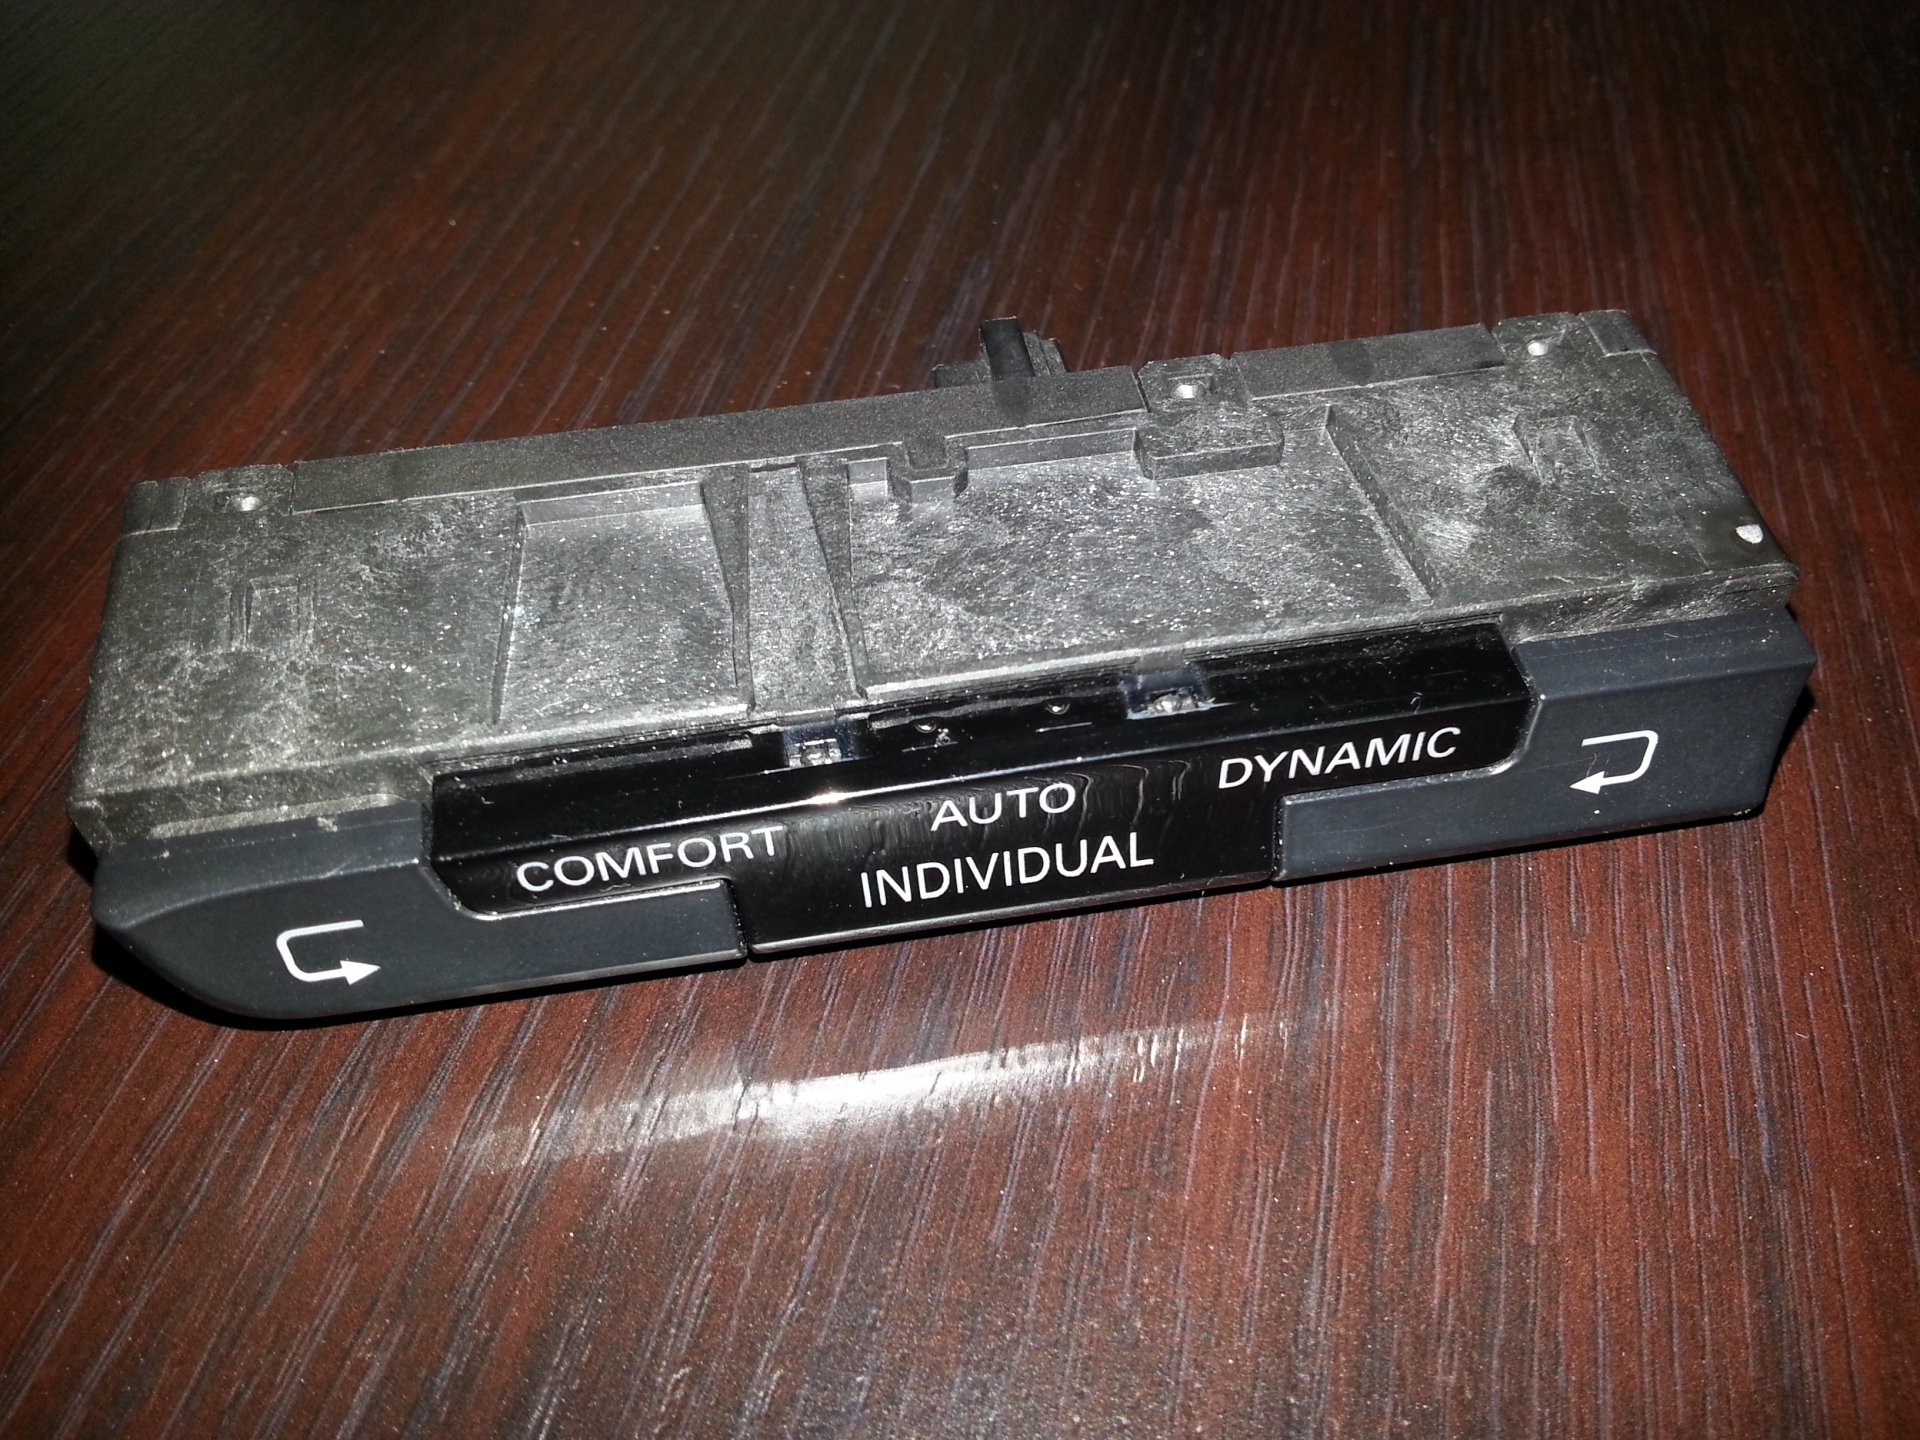
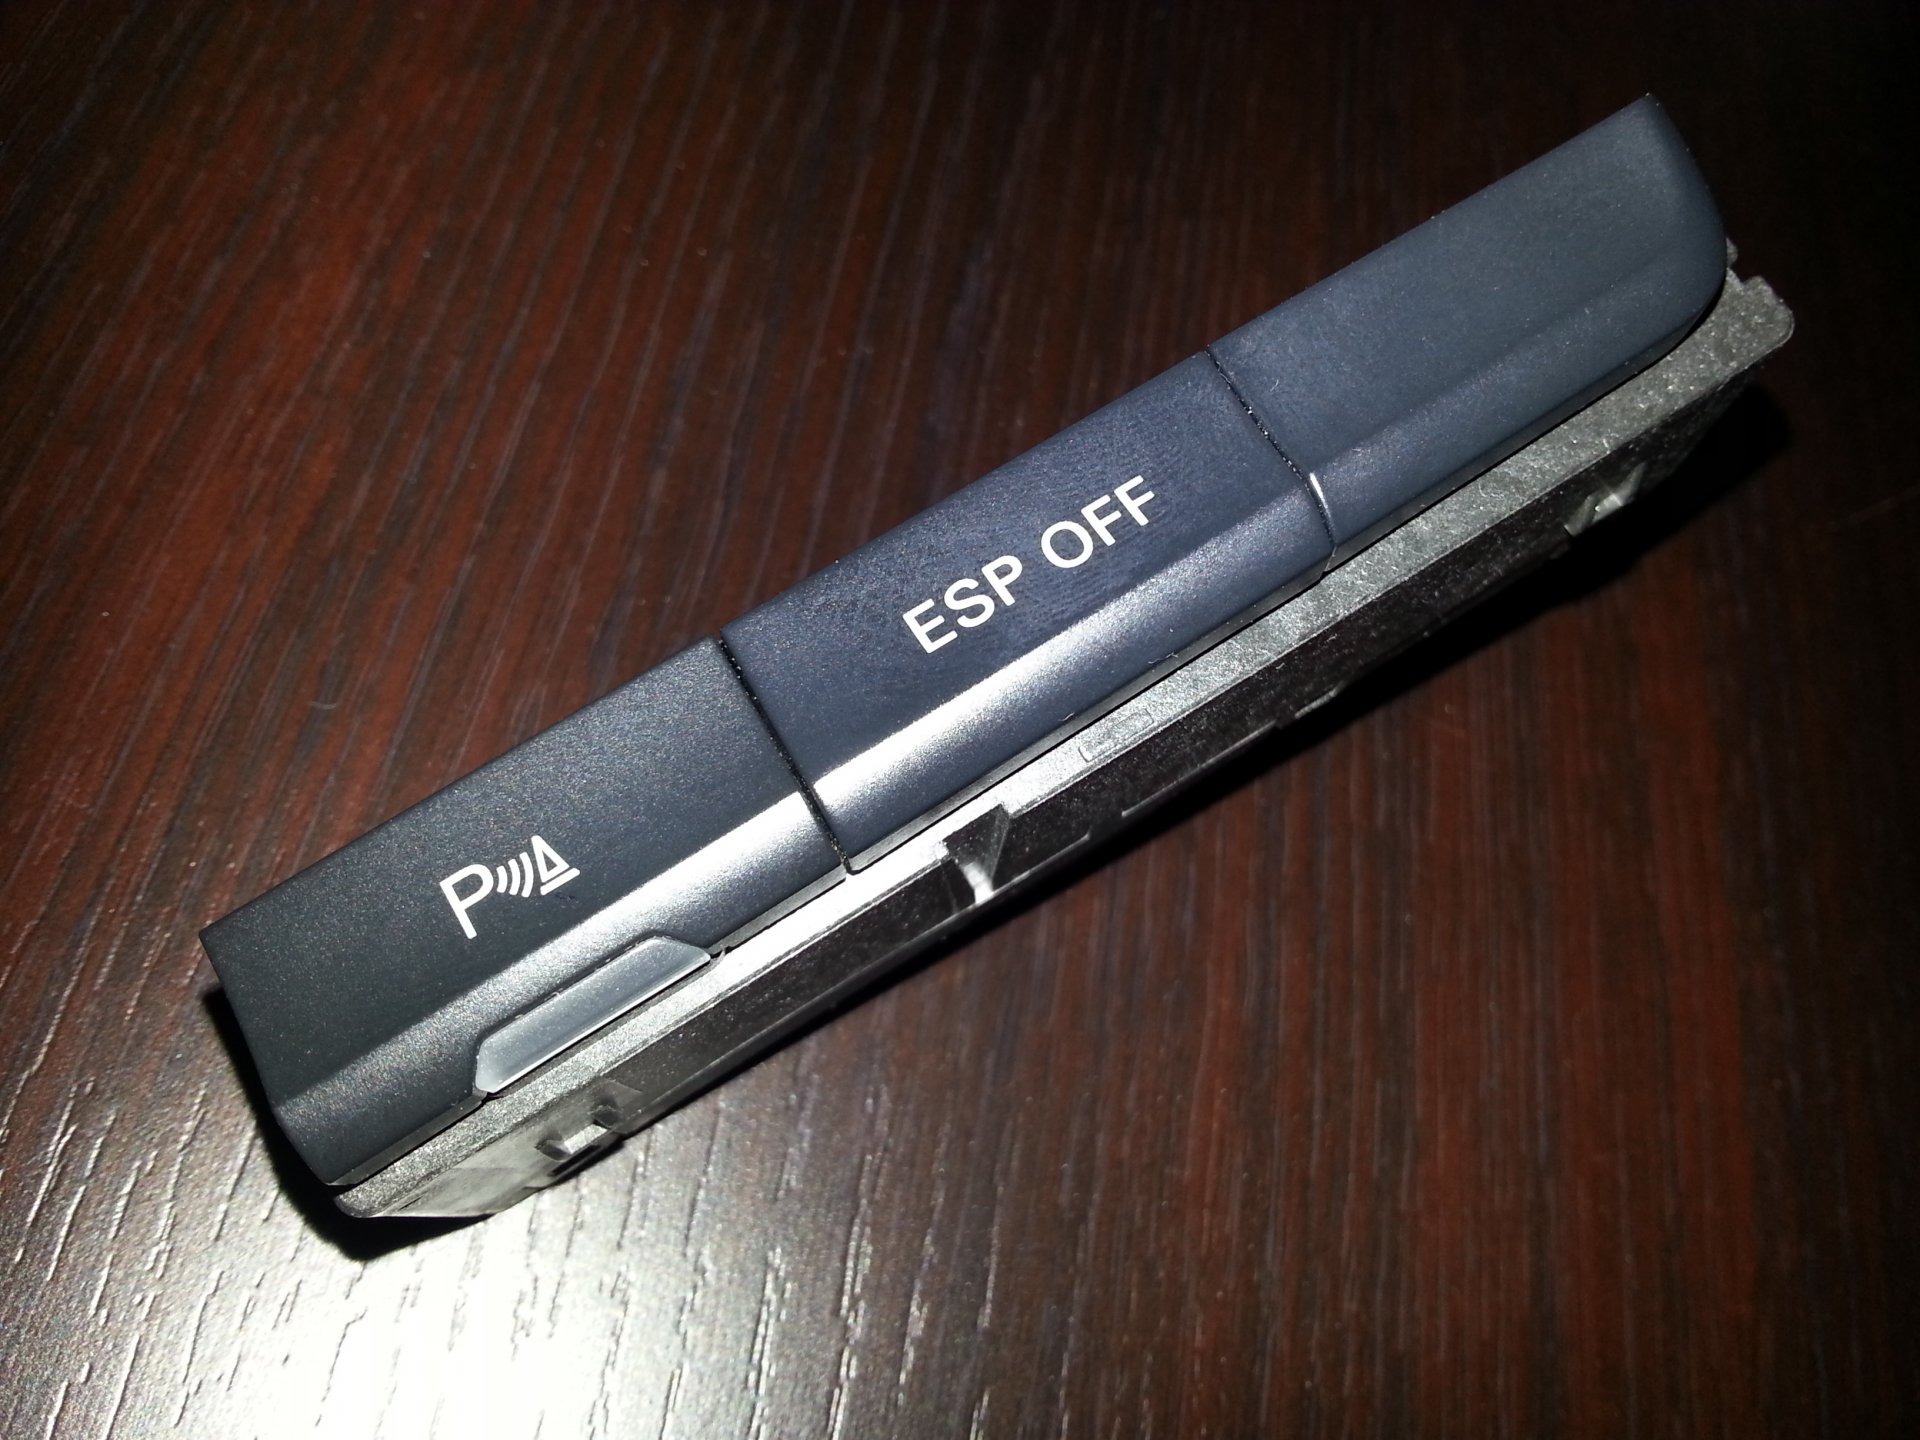
Zebrałem całość gratów na PDC Pytanie mam jeszcze do znawców schematów - ja się ich jeszcze nie nauczyłem czytać W wiązce z tyłu do przodu brakuje mi "kabelków" do przycisku aktywacji PDC (w moim przypadku PDC+ESP-po prawej stronie). Jutro pociągnę te brakujące kabelki (z tego co kojarzę 2 sztuki z modułu parctronica do przycisku ??? ) - prosze o potwierdzenie ilości kabelków i miejsca gdzie miałby je wpiąć (jak rozumiem pinami :000 979 009 E) Moze mi to ktoś potwierdzić ilość kabelków z przycisku (jedna kostka PDC z ESP) do modułu i numery pinów w które należy je "wetknąć" ?? Z góry :hi::hi:
-
Niby goofienko a czasem przydatna sprawa. Czasem 2 kubki z przodu to malo ;-)
-
No wlasnie brak...gosc w ASO tez byl lekko zdziwiony ze z superb'a uchwyty podchodza.
-
Grzegorz gdzie jest to do kupienia w tej cenie. W ASO tego nie maja luzem, mówią, ze to jest element wspólny ze zderzakiem Skoro jest numer i cena to można kupić to pierdółkę w ASO Dziś tam będę i trochę przeszkolę towarzystwo Czekam na wieści 1T0 919 133 C - 1.2 PLN - ASO A to nie jest przypadkiem uszczelka miedzy czujnikiem a zderzakiem ?? To jest gumowy element - z dość miękkiej gumy.... ---------- Post dopisany at 17:25 ---------- Poprzedni post napisany at 17:20 ---------- Co do uchwytów "bocznych" to z tego co czytałem duzo ludzi uzywa tych https://drive.google.com/file/d/0BwENrS5gET9RYk5BbUh0QnVlVVE/edit?usp=sharing 3T0 919 485 - od skody superb
-
Oryginalnie zarobiony Generalnie zagniesc tył...przod...mozna zalutowac i wszystko.
-
Przyszly dzis piny z e-connectors Pin 000 979 023 E to identyczny jak w zielonej kostce np od foteli...
-
-
Te nóżki......... Potem jest juz tylko lepiej ! ---------- Post dopisany at 21:09 ---------- Poprzedni post napisany at 20:48 ---------- Zna ktoś tytuł utworu w filmiku ? W opisie coś tam jest ale jakoś kiepsko z szukaniem :/
-
Na codzien zajmuje sie systemami alarmowymi ("domowymi") wiec roznego typu zagniatarki/zarabiarki w domu sa. Mam nadzieje problemu nie bedzie. Co do bezpiecznikow i miejsca ich wpinania.... 1. Jaki typ bezpieczniko jest u nas w B8 ? Normalne czy jakies mini z jakimi sie spotkalem ? 2. Gniazdo w ktore dokladamy w/w pin po stronie pasazera jak rozumiem jest "zasilone z jednej strony" ? Dlatego tylko jeden pin upycha sie w gniazdo i obwod zamyka bezpicznik ??
-
Zamówione co trzeba w e-connectors.pl....
-
Aaa nie zostal Ci ten 023E zeby sztuke podeslac -odplatnie oczywiscie
-
000 979 023 E do ADSa dopasc nie moge :/ te sa 000 979 123 E a innych brak :/
-
Gdzie piny kupujecie - tylko nie piszcie ASO :-( Nawiasem mowiac musze popracowac nad czytaniem schematow bo czasem ich nie ogarniam.....
-
Bład sie wkradl ;-)
-
Ja dalej czekam na wiazke i mod 8K z koncem AA.....Ciekawe czy w tym roku przyjdzie.....
-
Programu puki co nie zmieniam. Mam kilka innych spraw do robienia.
-
Poradziłem sobie. Drążąc temat dalej.... W srodku tej kostki sa 2 tak jakby podwójne piny (jak do bezpiecznika) ma ktoś możliwość sprawdzenia czy ten pin nadaje sie do skrzynki bezpiecznikowej do b8 ? Potrzebuje pinu o numerze 000 979 023 E i ciekaw jestem czy da sie zastapic to pinem z zielonej wtyczki ?
-
Jak wyciągnąć PINy z takiej kostki (1j0 937 731) - zielonej ? Odsuwam fioletowy element blokujacy i dupsztal....zane z pinów wyjść nie chce :/
-
Na poczatku opisu brak opisu demontażu zderzaka przedniego. Wrzuce jakby ktos potrzebował. The time taken to carry out this task, was around 1.5 hours, but by following this guide it may be possible to do it quicker. I am not a mechanic and the guide is written as step-by-step guide for all abilities. Tools needed are as follows: (these can be purchased from Halfords) 1x Torx t27, 1x Torx t26, 1x 3/8" Ratchet, 1x 3/8" 10" Extension Bar, 1x 3/8" 10mm socket, 1 x small torch (not essential), 1x small screwdriver, and some protective matting in front of the bumper. STEP 1: After opening the bonnet, remove the 4 bolts on the Airflow panel indicated below, using a t26. STEP 2: Locate the 3 plastic bolts indicated below. Push down on these plastic bolts. STEP 3: Remove the Airflow panel by pulling towards the engine bay and lifting upwards. The engine bay will now look like this once the Airflow panel has been removed. STEP 4: On the drivers side, turn the wheel inwards and locate the two bolts on the front edge of the wheel arch, as indicated below. Remove these 2 bolts using a t27. STEP 5: Peel back the wheel arch liner and locate the bolt, indicated below, which is located just below the headlight. (Note: A small torch might be useful in locating this bolt) Remove this bolt using the Ratchet with the attached Extension Bar and 10mm socket. STEP 6: There are 5 bolts located below the bumper. Remove these using a t26. (Note: There is a bolt located on the far edges of each side of the bumper. This is indicated on the left of the photo below. These bolts are different to the other 3 bolts so make sure you don't mix these up.) STEP 7: On the passengers side, turn the wheel inwards and locate the two bolts on the front edge of the wheel arch (exactly the same as what was carried out on the drivers side.) Remove both of these bolts using a t27. STEP 8: Peel back the wheel arch liner. Locate the bolt, as indicated below, which is located just below the headlight. (Note: A small torch might be useful in locating this bolt) Remove this bolt using the Ratchet with the attached Extension Bar and 10mm socket. STEP 9: Locate the two bolts on the top of the bumper, as indicated below. Remove these bolts using a t26. Use a screwdriver, lift the flange located underneath each of the two bolts. (Note: Be careful not to damage the paint of the bumper when using the screwdriver) STEP 10: Remove the Fog Light surrounds on either side by giving them a good pull outwards. (Note: This is not mandatory but I found it helpful for the next step) STEP 11: ENSURE THAT THE IGNITION IS OFF AT THIS STAGE TO PREVENT POSSIBLE FAULT CODES FLAGGING UP! Remove the bumper from the car by gently wiggling and pulling on all sides, fog light hole, and from top and bottom. (Note: this is where step 10 proves useful). Make sure that protective matting is in place in front of the bumper in case the bumper is dropped etc. Be aware that the bumper will still be attached to the car at this stage, via wires. STEP 12: Once the bumper is free, the airtemp sensor will then need to be removed from the bumper by gently pulling it free. STEP 13: Unplug the fog lights by using a screwdriver to unclip the socket. The bumper will now be fully free from the rest of the car at this stage. STEP 14: Place the bumper face down on the protective matting and locate the 12 bolts indicated below. Remove these bolts using a t26. The bottom bracket indicated below can be removed once the 6 bolts holding it in have been taken out. This bracket has to be added to the replacement grille. STEP 15:Unclip the 4 clips, 2 on either side of the top of the grille, using a screwdriver. STEP 16: Unclip the 4 clips, 2 on either side of the grille, using a screwdriver. STEP 17: Locate the 5 clips, 4 of which are indicated below. Unclip these clips by gently pushing down with a small screw driver. The grille will now become free from the bumper. STEP 18: Turn the grille over and locate the 10 clips on the back of the Audi logo. Unclip these clips by pushing the black clips attached to the grille, away from the chrome part of the Audi logo, using a small screwdriver. Once these clips have been unclipped, the Audi logo will now be free from the grille. This can be easily attached to the emblem holder of the new grille. Reverse these steps to attach the grille to the bumper and the bumper back onto the car. The Finished Product:
-
Zobacz tu Przewody samochodowe, przewody do akumulatorów Elektryka samochodowa Samochód - Conrad.pl
-
O prosze.... czlowiek nawet nie wie kogo mija :-)
-
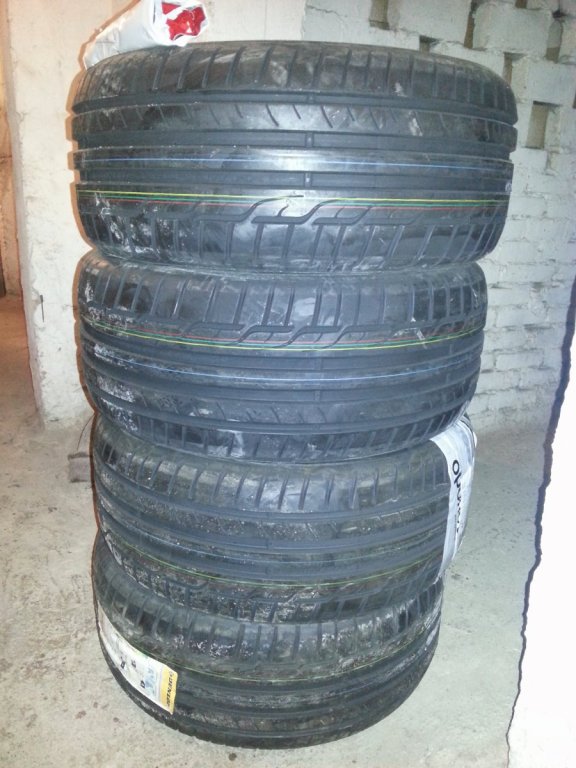
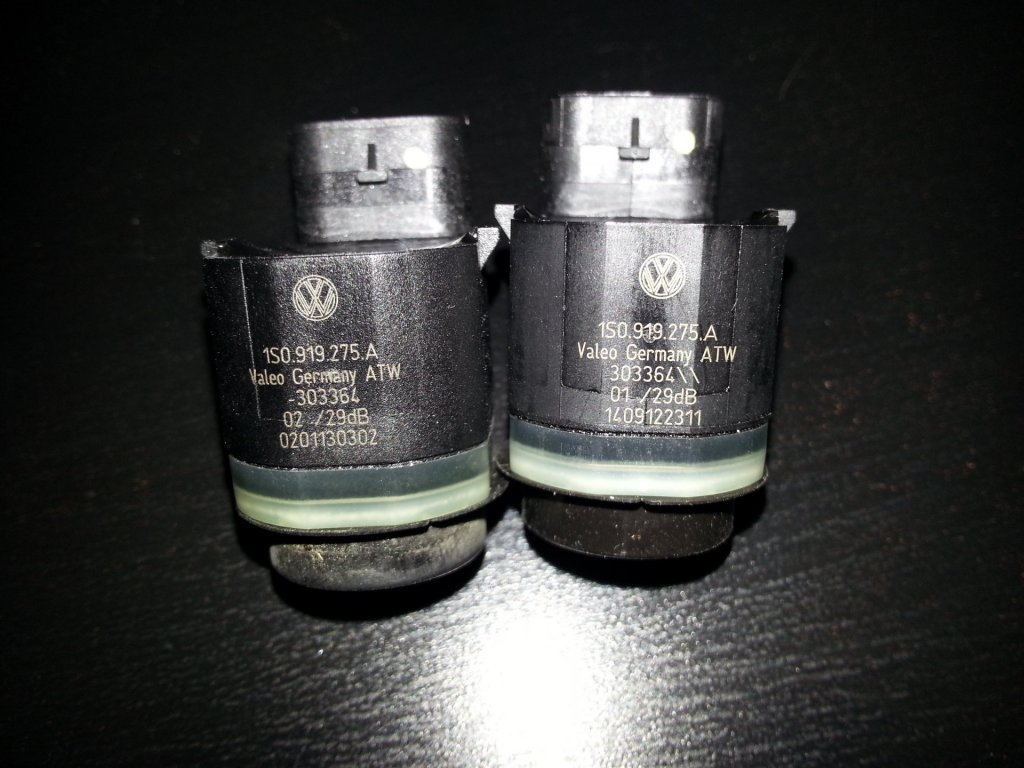
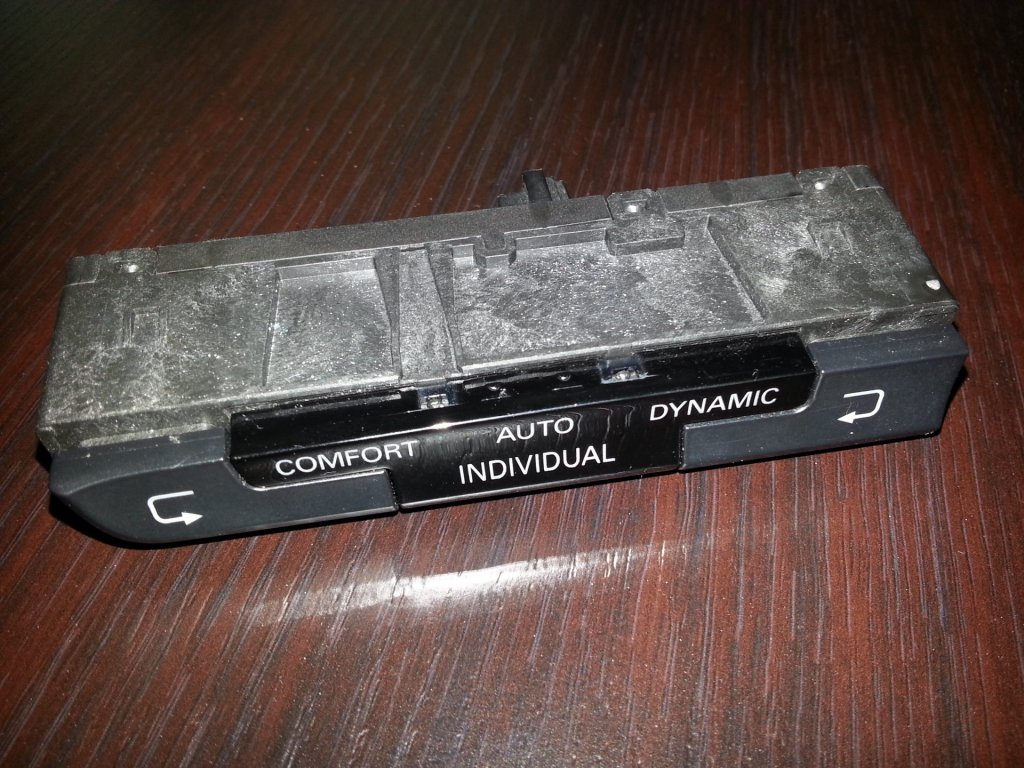
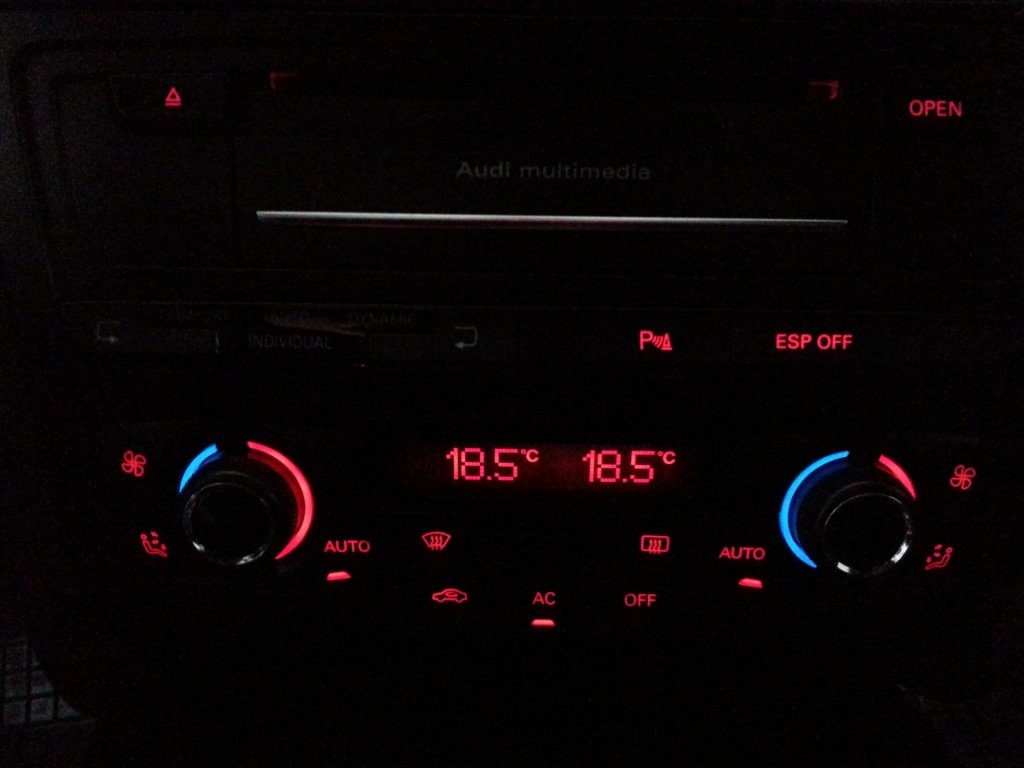
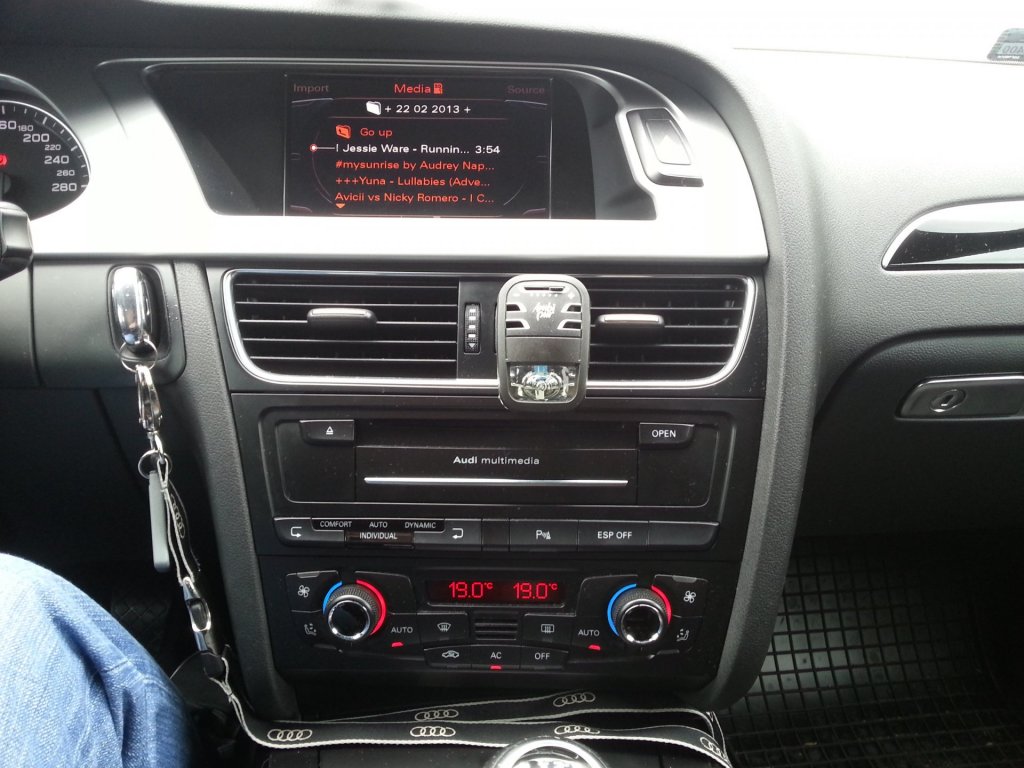
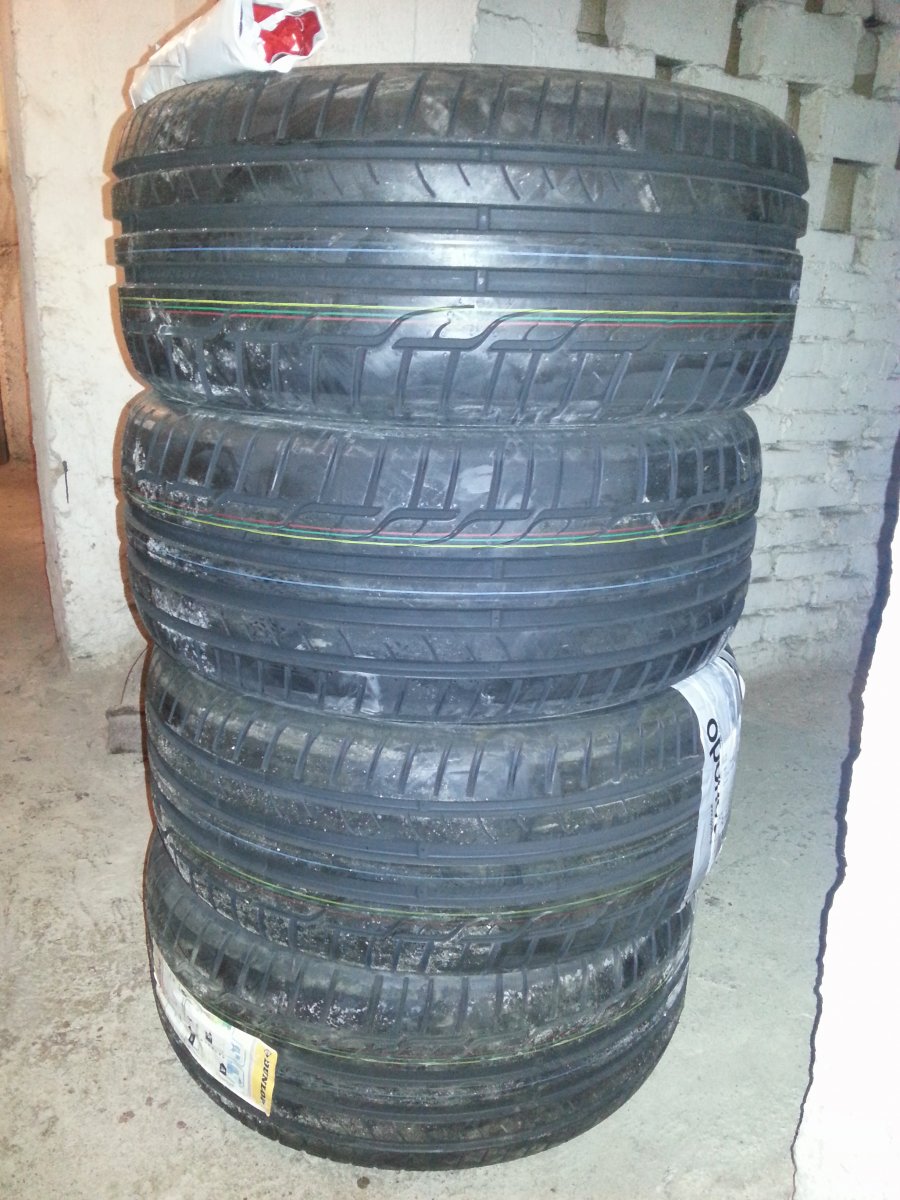
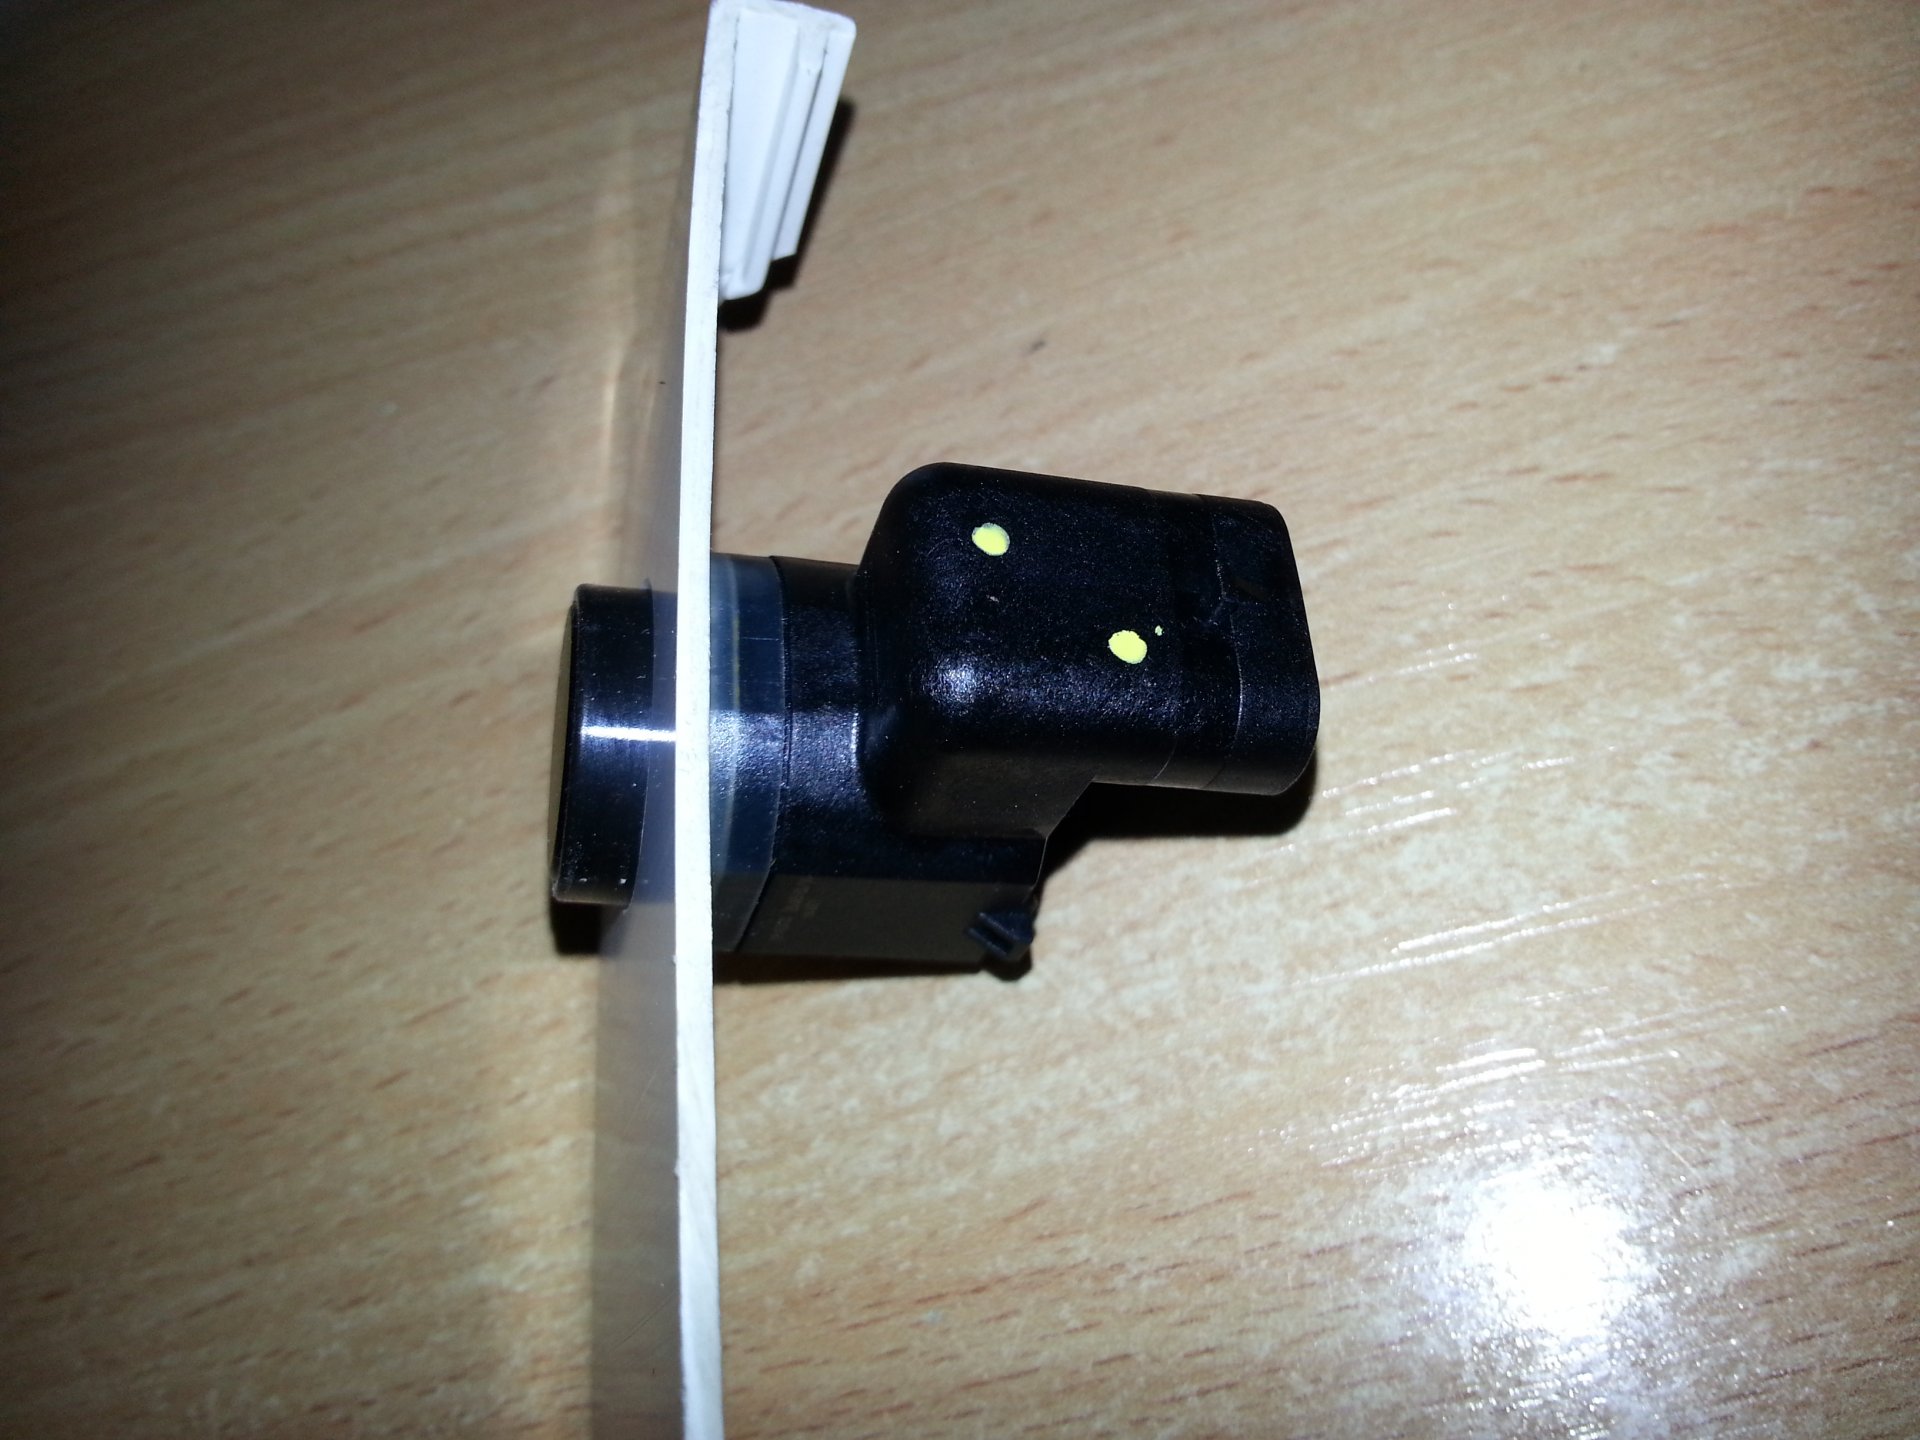
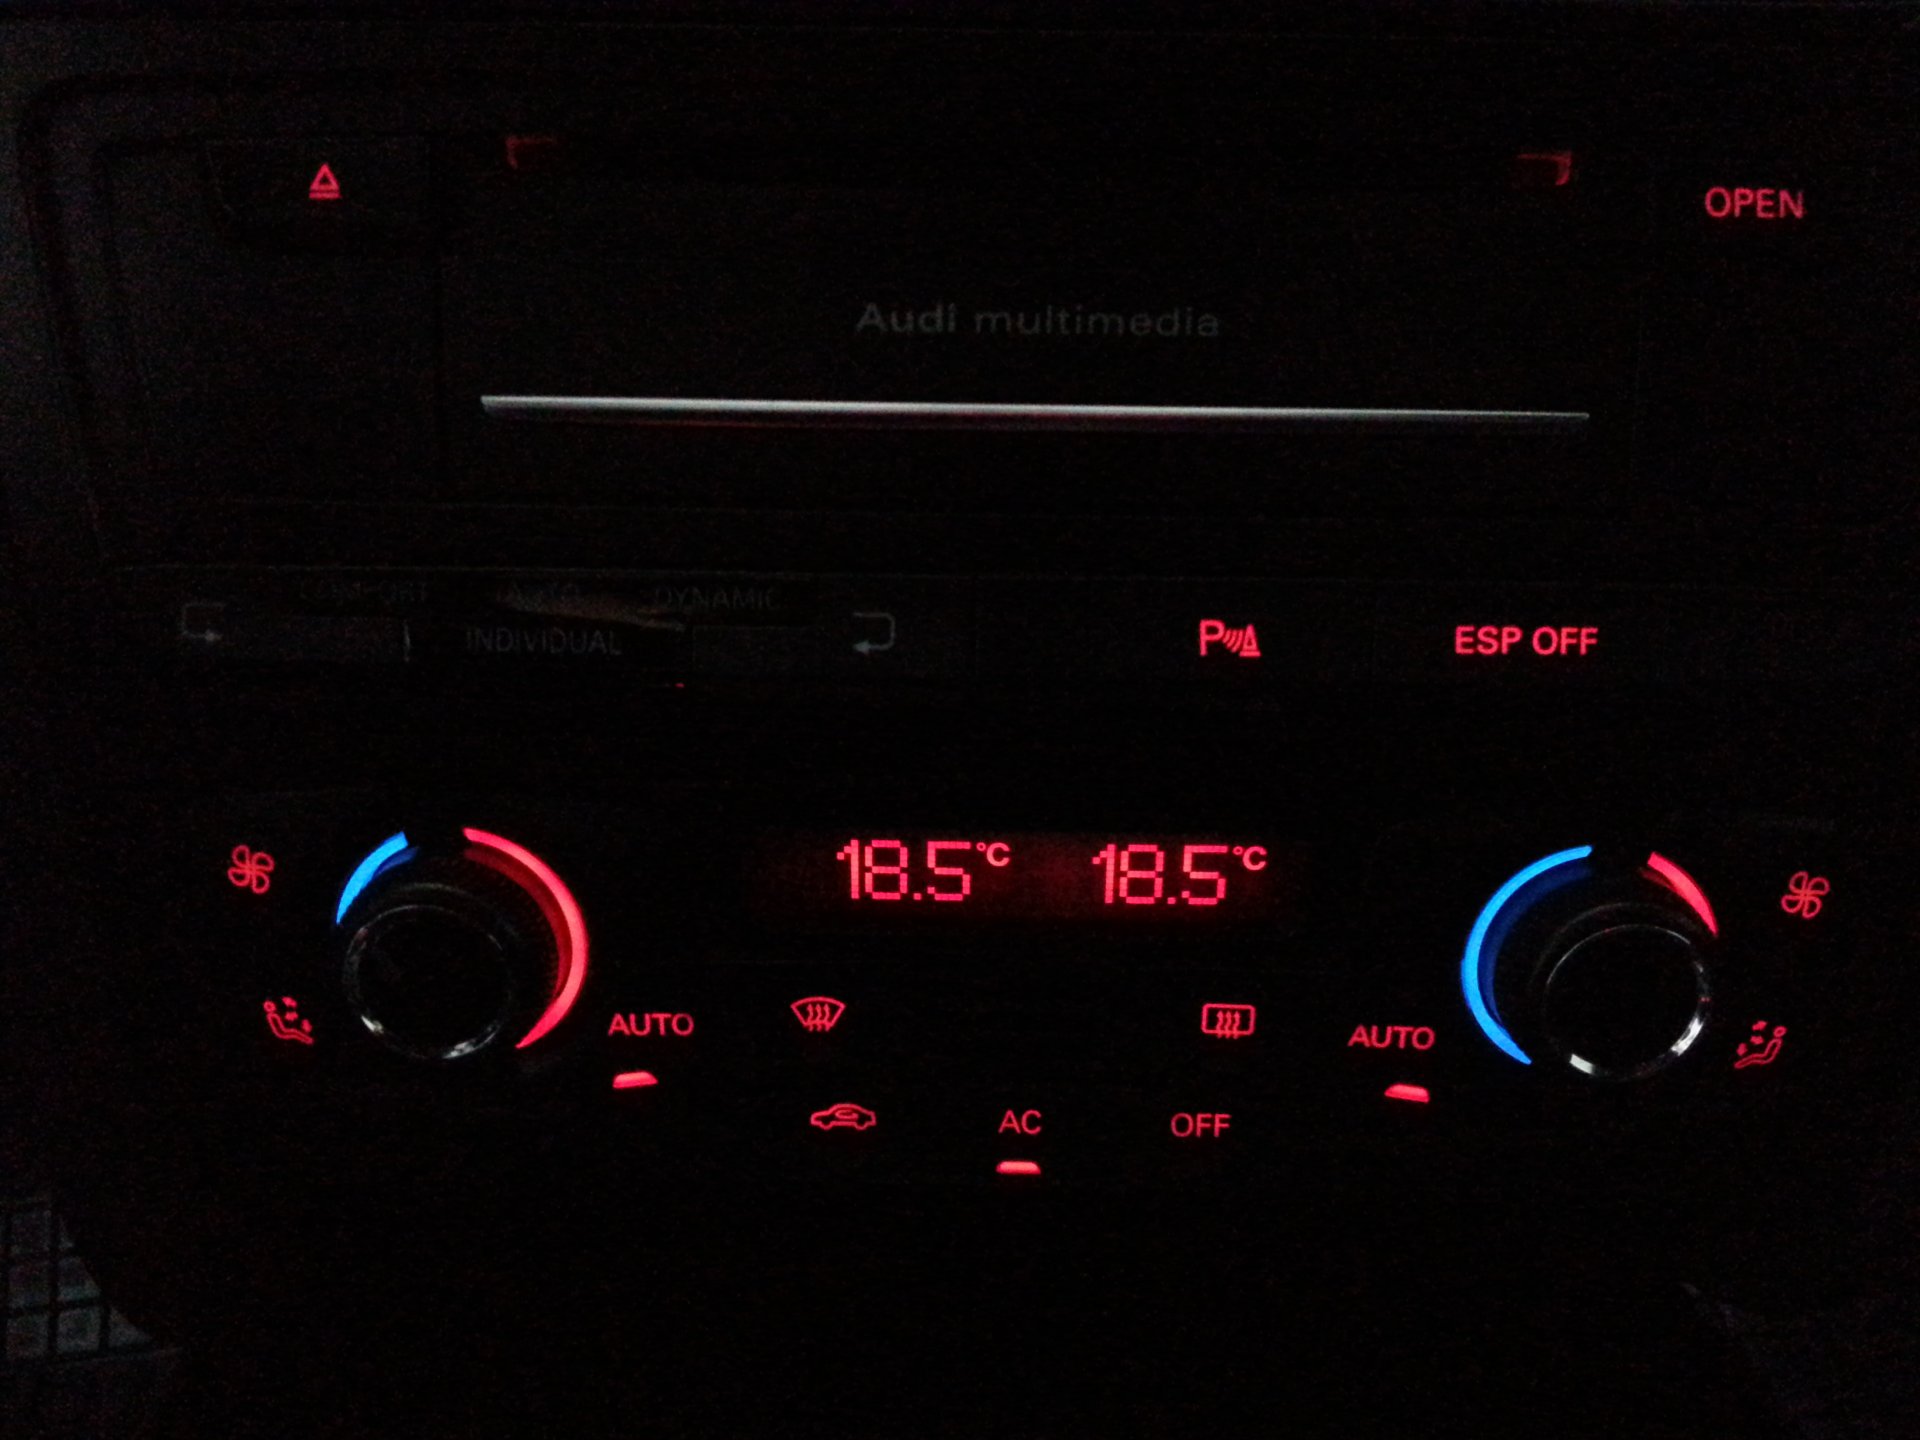
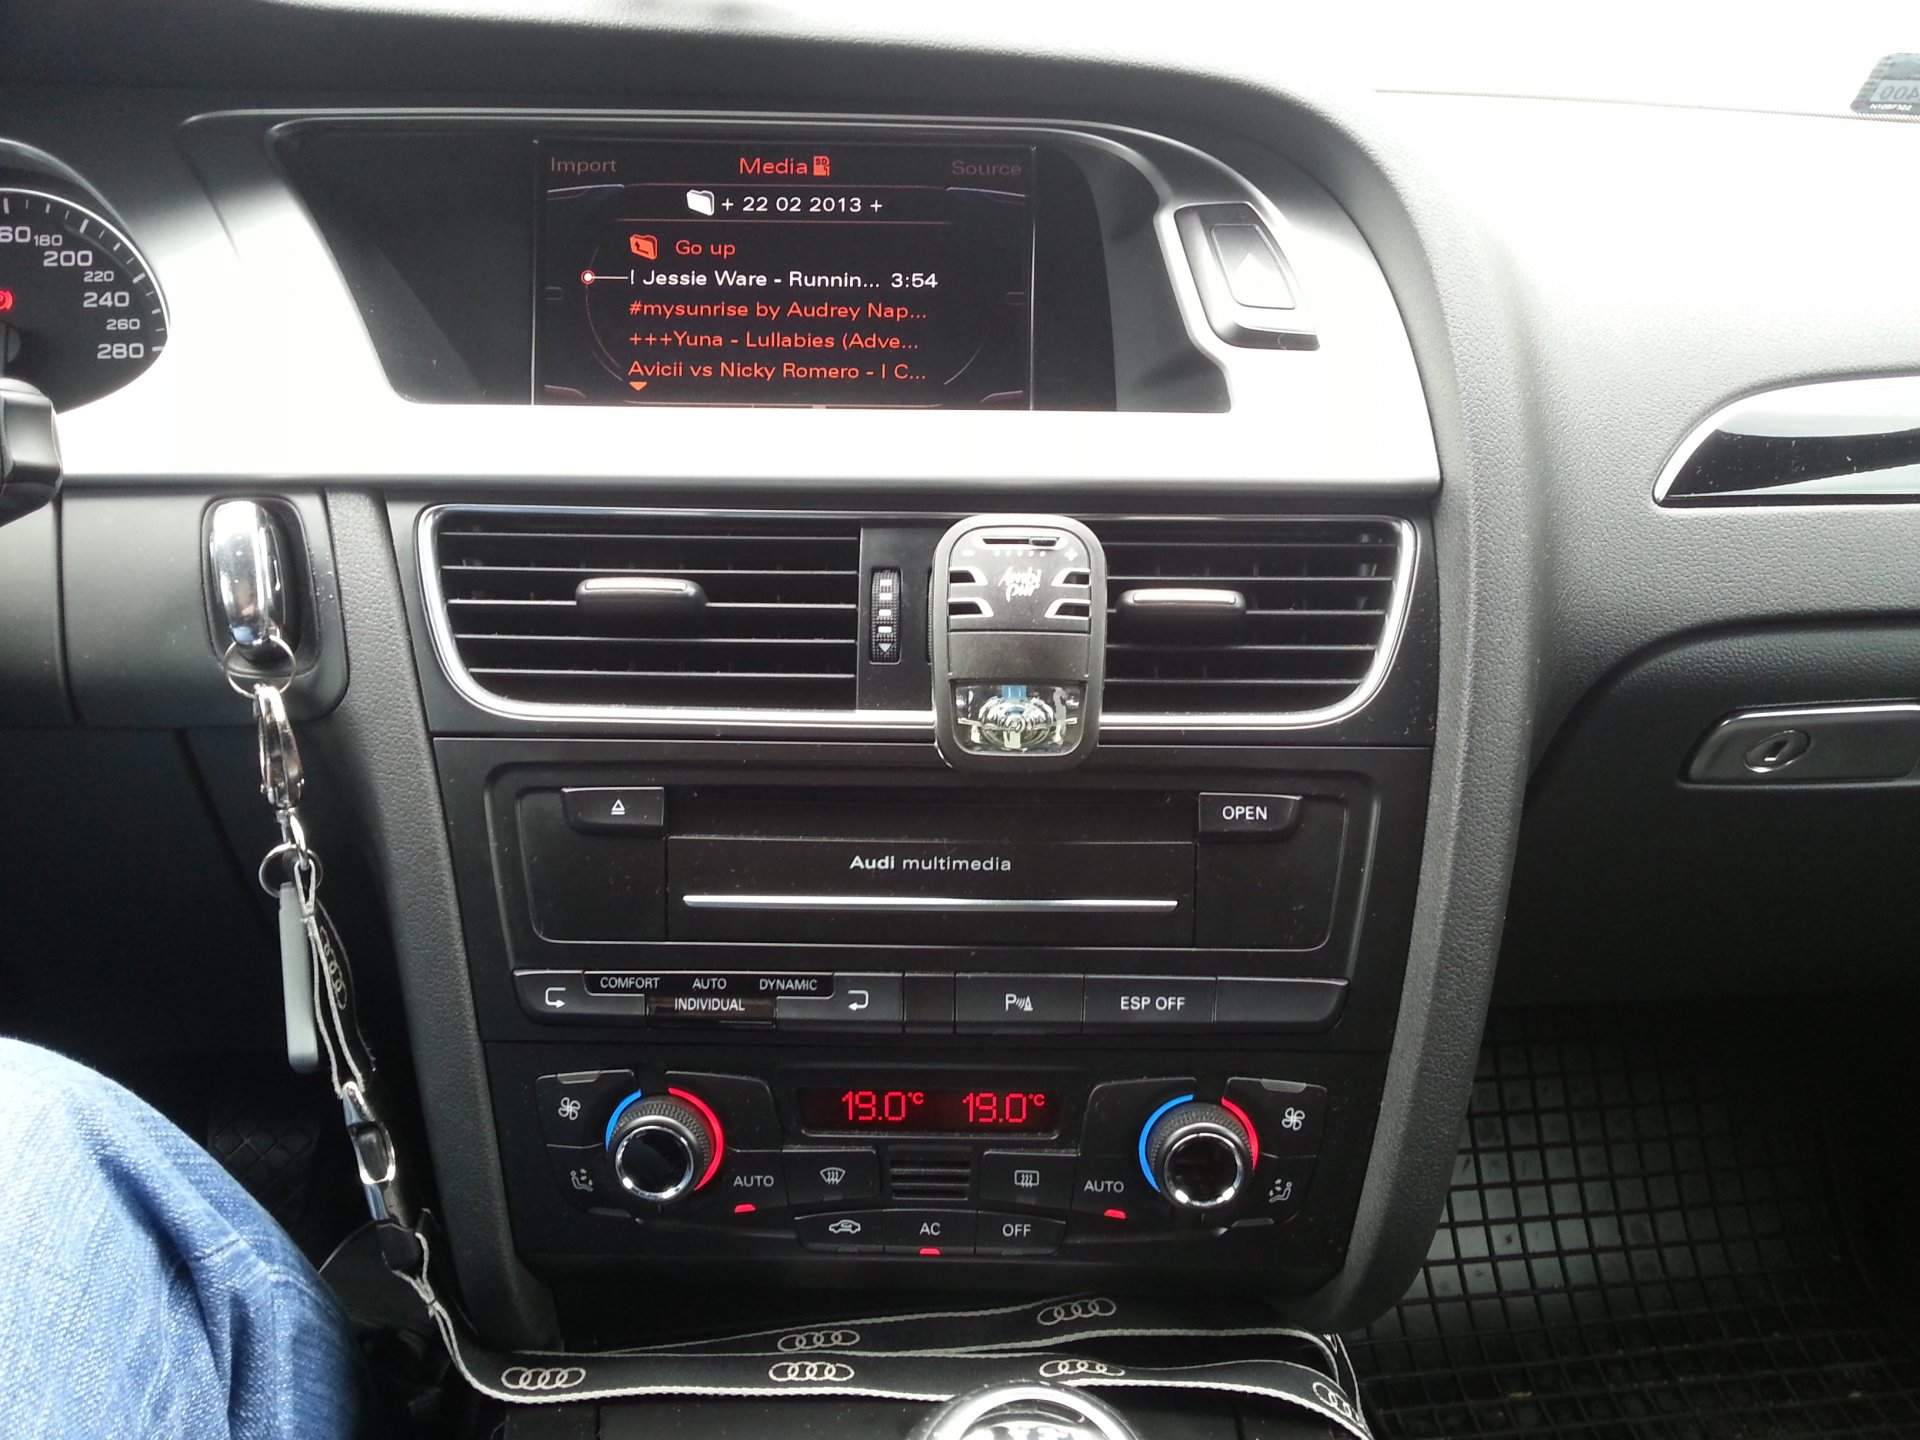
Pierwsze zakupy: Dunlop SP Sport Maxx RT 245/40 R18 Kompletowanie elementów pod: PDC przód Wiertło dopasowane Przyciski doszły ADS Przełączniki siedzą na miejscu - tylko podłączać